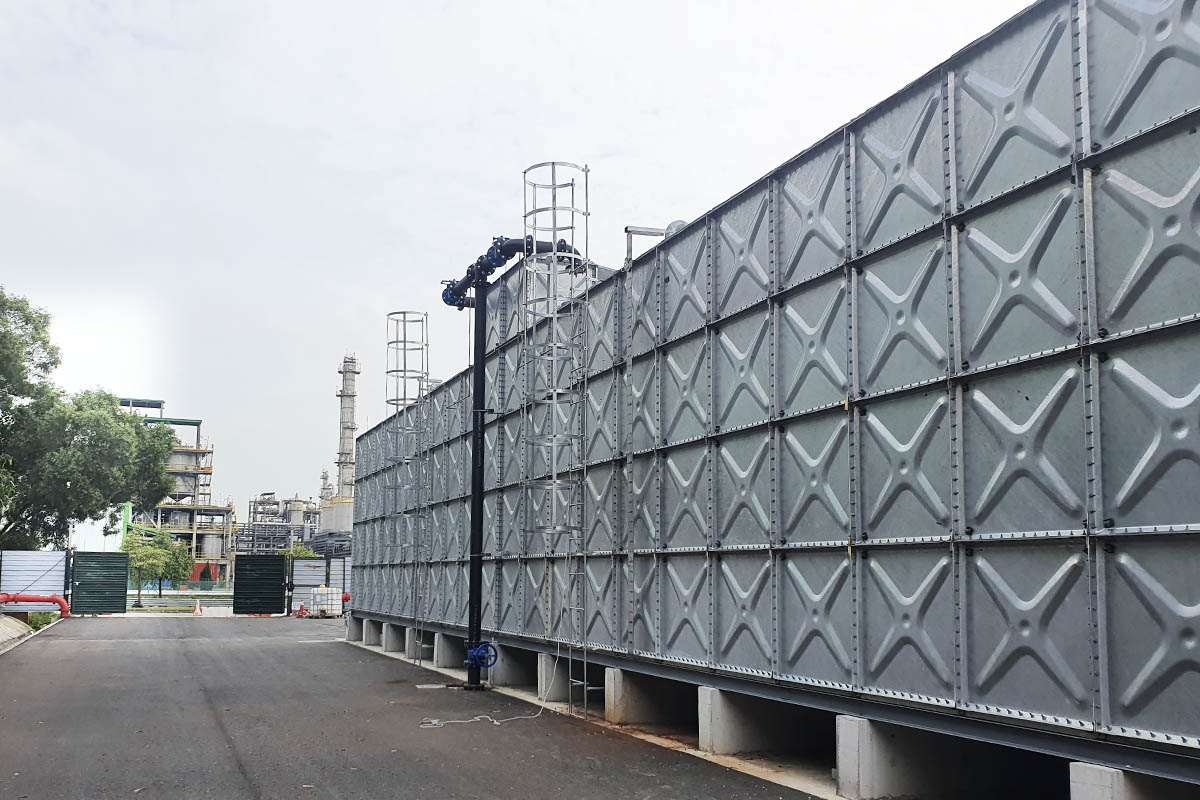
How to Install HDG Water Tank
The process of installing a hot dip galvanized (HDG) water tank can be completed in several key steps. Here is a concise installation guide:
Step 1: Foundation preparation
- Choose a location: Pick a flat, stable location with no risk of flooding or erosion.
- Build the foundation: Build a suitable concrete foundation according to the foundation drawings provided by the manufacturer.
Step 2: Assemble and install the base
- Measure and position: Use a ruler to measure the channel steel size and determine its position in the foundation according to the design drawings.
- Welding work: Weld the channel steel base firmly.
Step 3: Assemble the bottom HDG panel
- Lay the base plate: Lay the base plate into the required shape (usually round or rectangular).
- Fix and seal: Connect the base plates using the fasteners provided and apply sealing tape in the gaps to ensure waterproof performance. Check that all corners and edges are aligned.
Step 4: Install the side panels
- Install the side wall panels: Place the side wall panels vertically around the base.
- Joint treatment: Fix the vertical joints of the wall panels with bolts and nuts, overlap the horizontal joints, and apply sealing tape to all joints to ensure waterproofness.
Step 5: Install the top cover
- Assemble the top structure: Assemble the top plate to the top of the wall.
- Fixing components: Use bolts and washers to fix the top plate to the wall panels, and configure additional components such as vents and inspection holes as needed.
Step 6: Install the tie bars
- Drilling and fixing: Drill holes in the tie bars at the intersection of the four boards, first fix the internal tie bars with tension bolts, and then connect the cross tie bars. After completing the interior, install the external tie bars and tighten the screws with a hand wrench.
Step 7: Install the flange
- Determine the installation point: Determine the installation point according to customer needs, and use the flange pipe to accurately locate the hole position.
- Implementation of installation: Drill holes with an electric drill, add rubber washers to the flange screws, and apply a small amount of glass glue on the surface of the flange pipe and fix it with screws.
Step 8: Test the hot-dip galvanized water tank
- Preliminary test: Pour a small amount of water into the water tank to detect leaks.
- Final confirmation: If no leaks are found, fill the water tank completely and let it sit for a few hours to observe whether there are pressure changes or signs of leaks.
Step 9: Complete the installation
- Accessory installation: Install accessories such as ladders, handrails, inlet and outlet pipes, and drainage systems.
- Cleaning work: Thoroughly clean the inside of the water tank before first use.
Following these steps, you can smoothly install a hot-dip galvanized water tank. If you encounter any uncertainties during the process, it is recommended to seek professional help. Regular maintenance is also an important part of ensuring the long-term performance of the water tank.

